

Accessing App
To access the app:1
Log in to http://dashboard.pexcard.com/
2
Click “Apps” from the left navigation.
3
Navigate to the “Available” tab.
4
Locate “Google Sheets”.
5
Click “More info” on the tile.
6
Click “Install”.
7
Click “Launch”.
Note:To install the connector, you need to enable the following permissions: Edit business settings & apps, View card transactions. You can enable them in My Profile -> Permissions.
Initializing App
Follow the steps to connect your PEX account and your Google account:1
Once the app has launched for the first time click “Connect”. 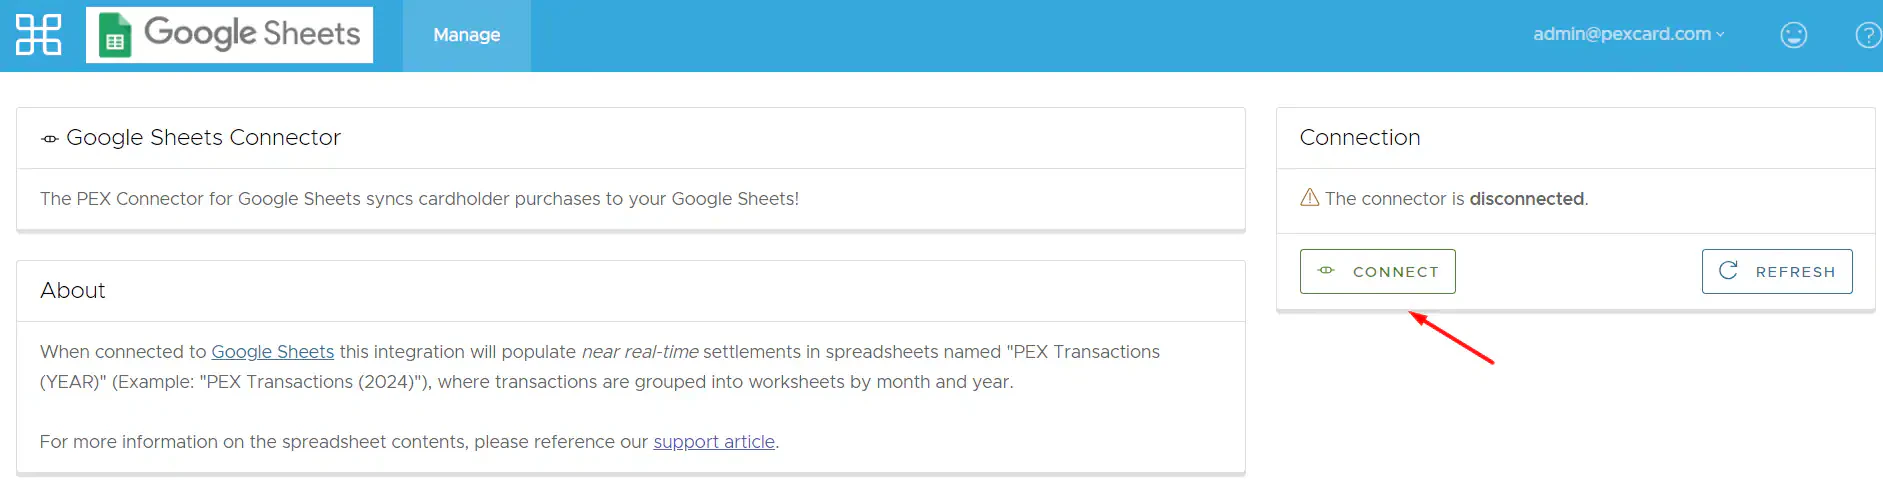
2
Click “Connect” below to authenticate your account with the application.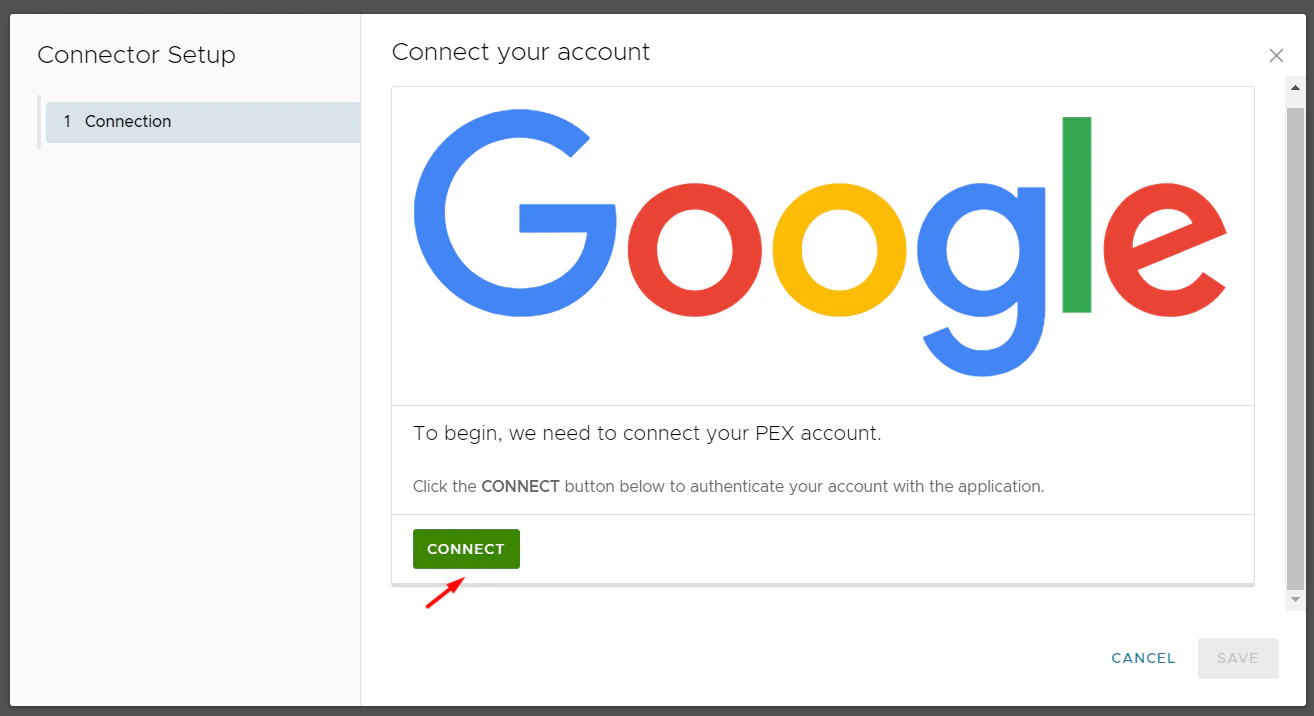
3
You are redirected to a Google sign in form.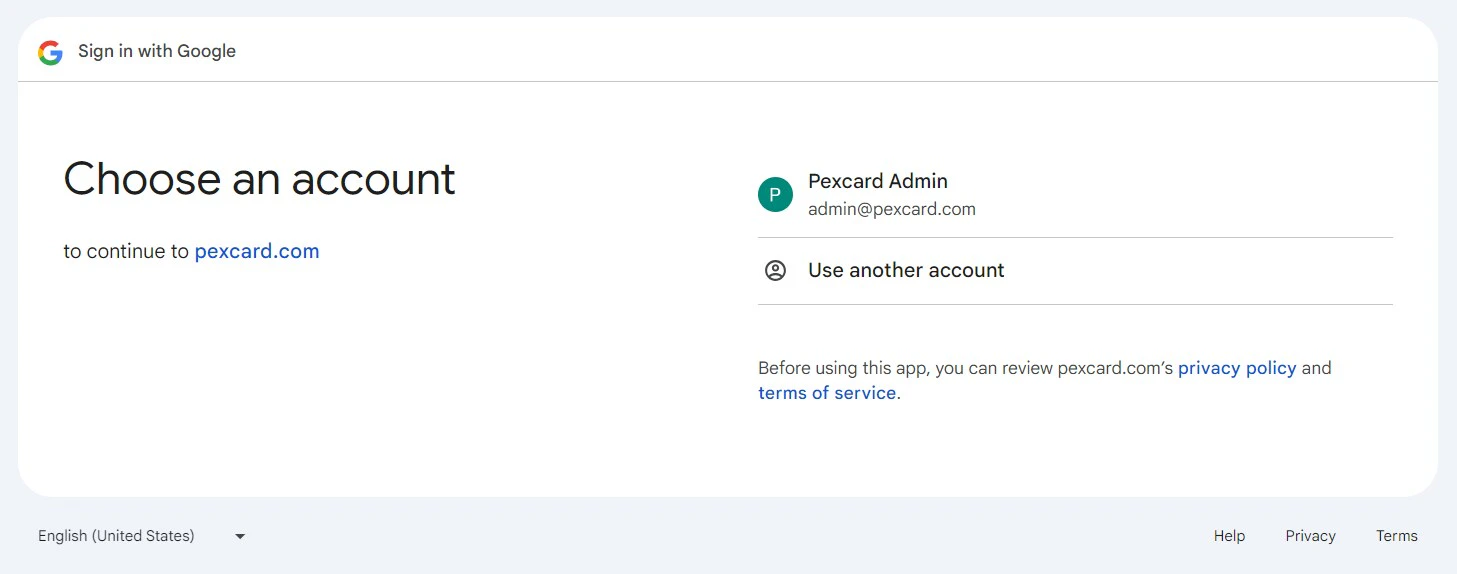
4
Select your Google account or enter its email/phone and password.
5
Click “Continue”.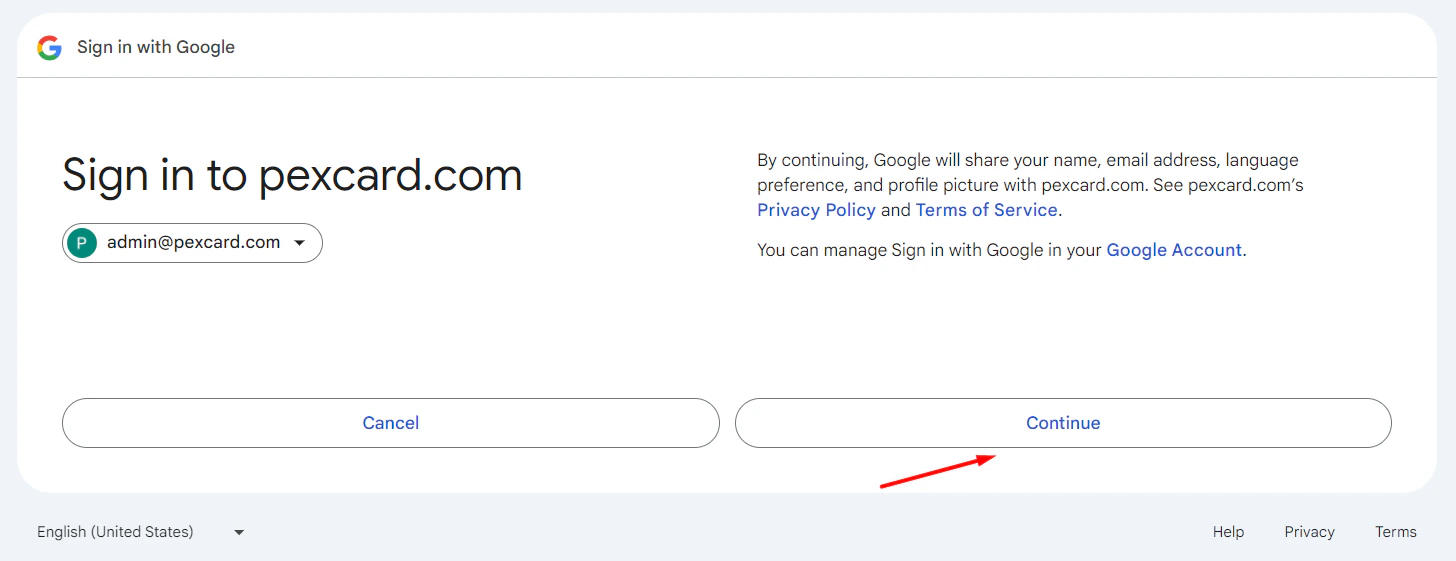
6
Check the following checkbox to grant PEX permission to access your Google Account.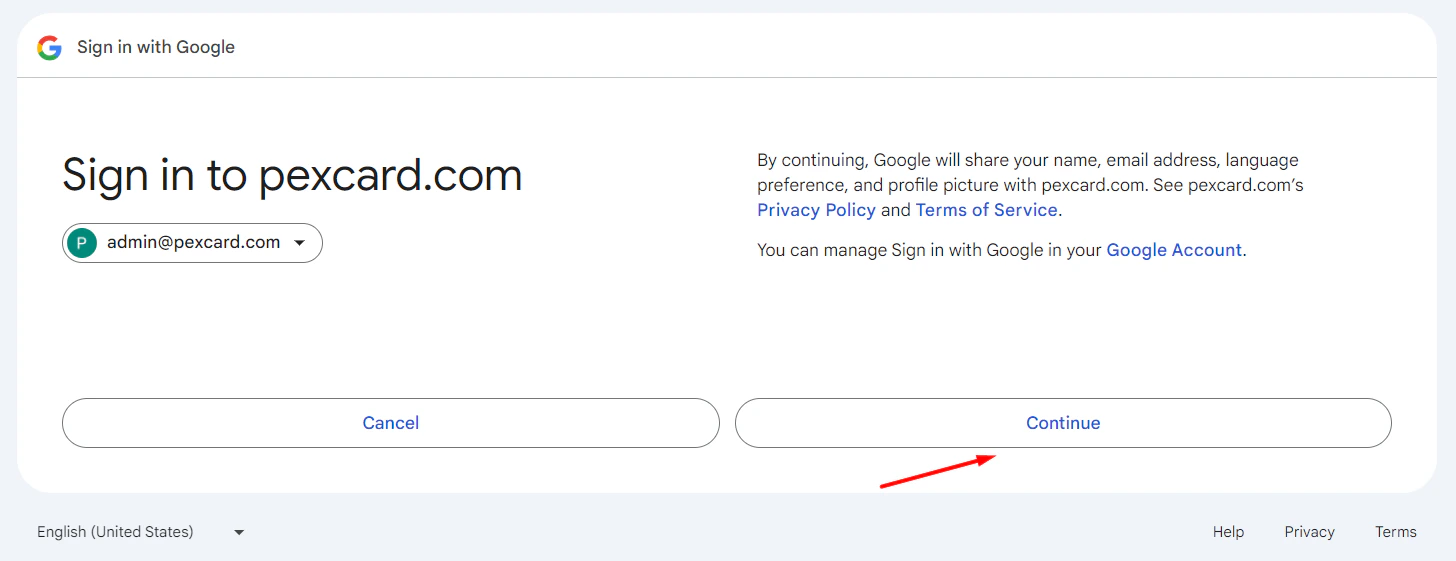
7
Click “Continue”.
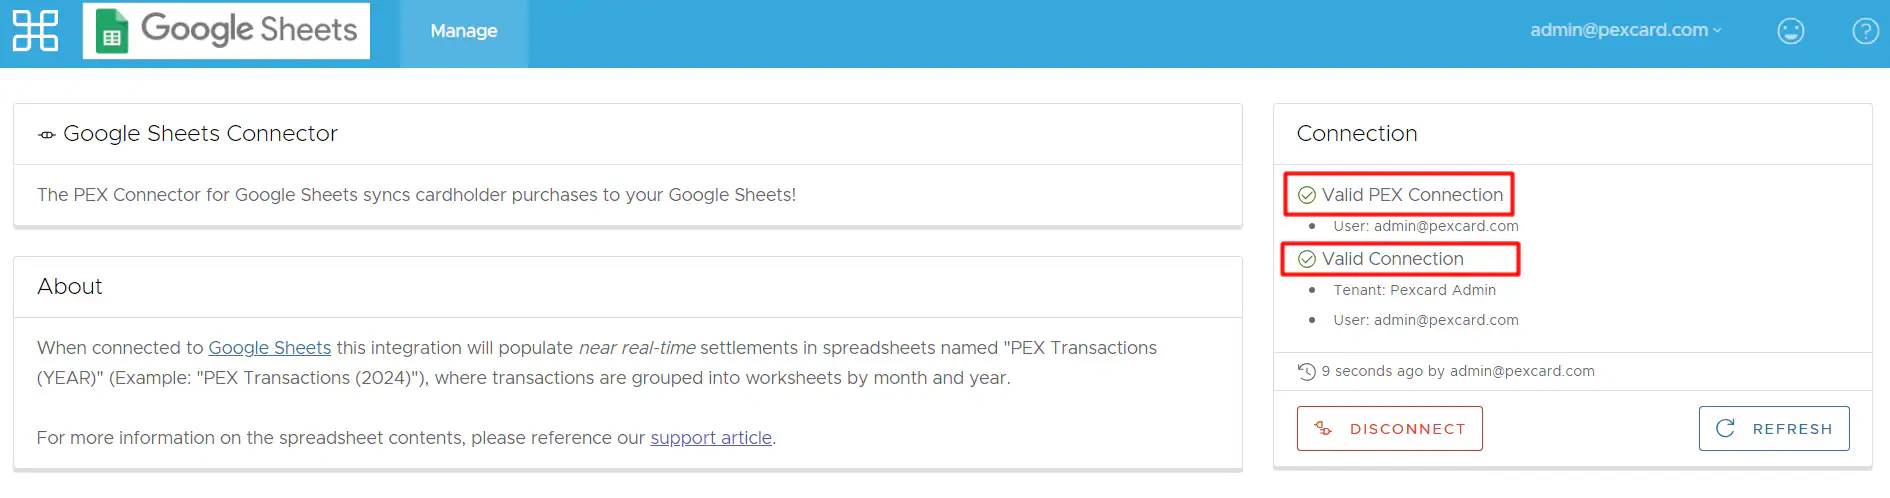
Using App
1
Sign in your Google Sheets connected to a Google Account that you have selected to sync transactions to.
2
Locate the spreadsheet named “PEX Transactions (<Year>)” by following this path: PEX\Transactions\PEX Transactions (<Year>).
3
Double-click on it.
4
View your synced settled purchase transactions.
- Month: Navigate between spreadsheet’s bottom tabs to view transactions for a particular month.
- Year: A new spreadsheet named “PEX Transactions (<Year>)” will be automatically created for every year.
- Transaction ID
- Merchant ID
- MCC
- Merchant Name
- Transaction Time (EST)
- Settlement Time (EST)
- Cardholder ID
- Cardholder Name
- Description
- Amount
- Cardholder Group
Note:The PEX Connector syncs:
- Only settled purchase transactions.
- No past transactions.