1
Log in to http://dashboard.pexcard.com/
3
Click Add Tag.
4
Select Dropdown as the type.
5
Enter a name: Expense Category.
6
Optionally, add a description like “Expense Categories”.
7
Check Enabled to make this tag visible on transactions.
8
Choose whether or not this tag is required.
- If the “Required” checkbox is checked, cardholders must tag a transaction with it.
9
Click Save tag to finish.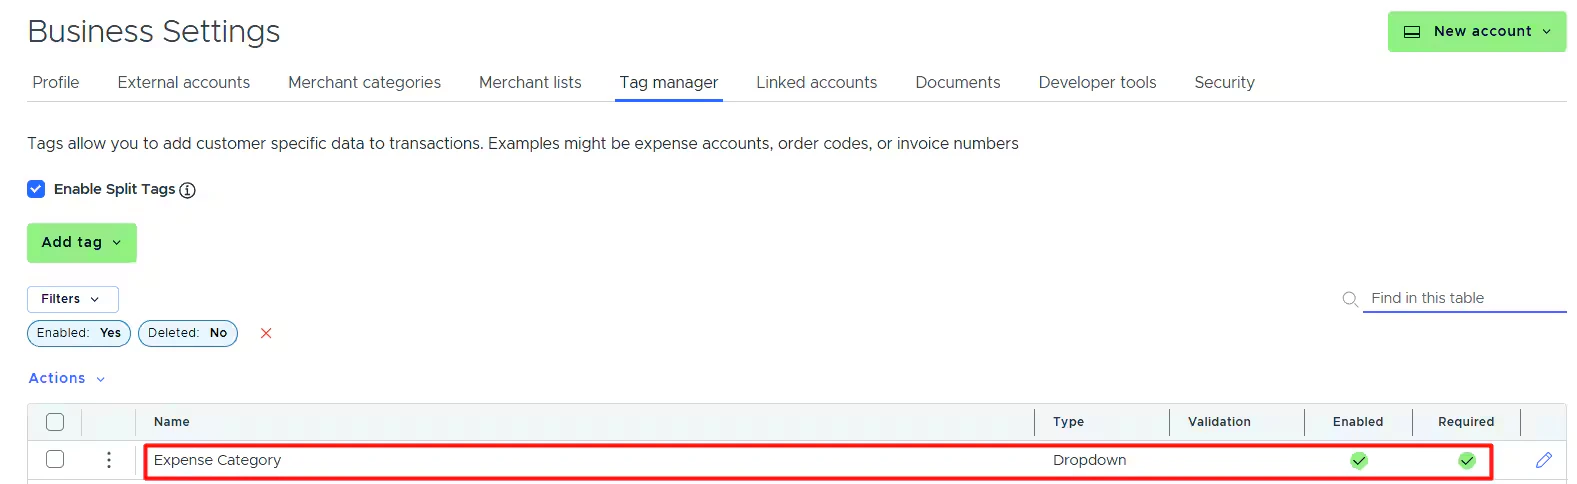
- The new tag will appear on the Tag Manager page.
10
Create one tag for each QuickBooks Online field mapped to a PEX tag (like Class, Customer, Billable, Tax, etc.) following the same steps above.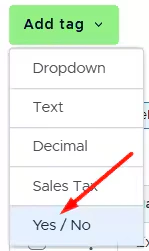
Note:Only Yes/No tags should be created for Billable and Tax fields.
1
In the PEX Tag dropdown lists in connector setup steps.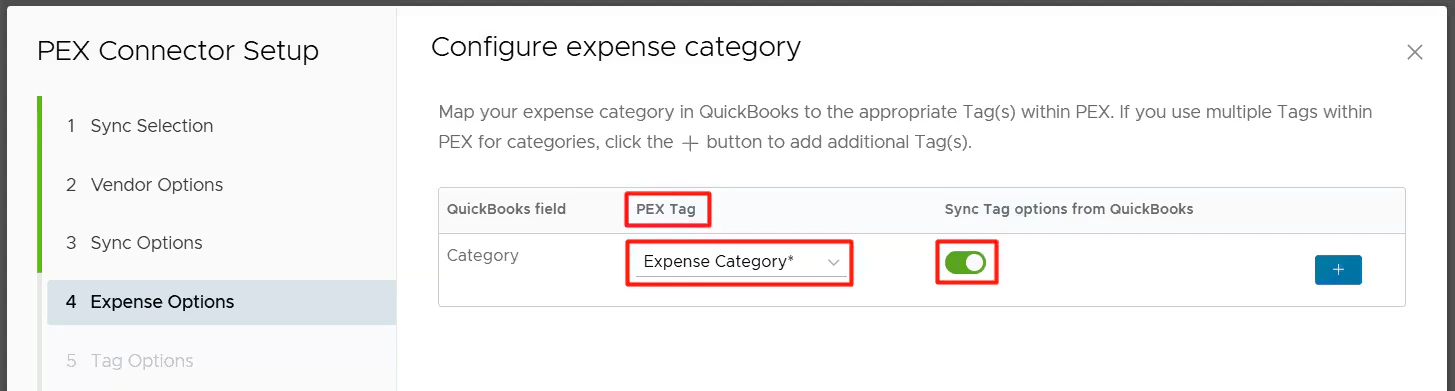
2
On the PEX transaction details screen, so you and your Cardholders can tag transactions.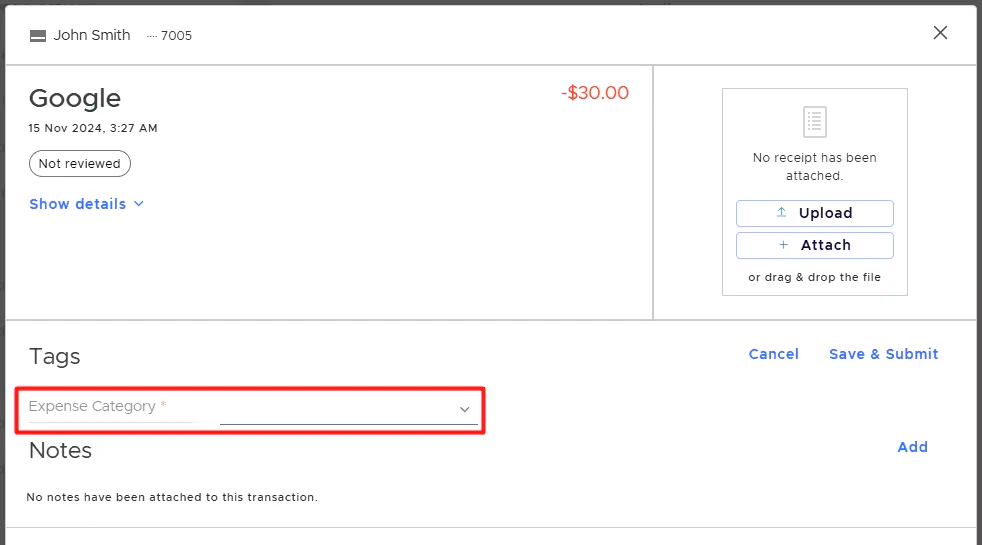
3
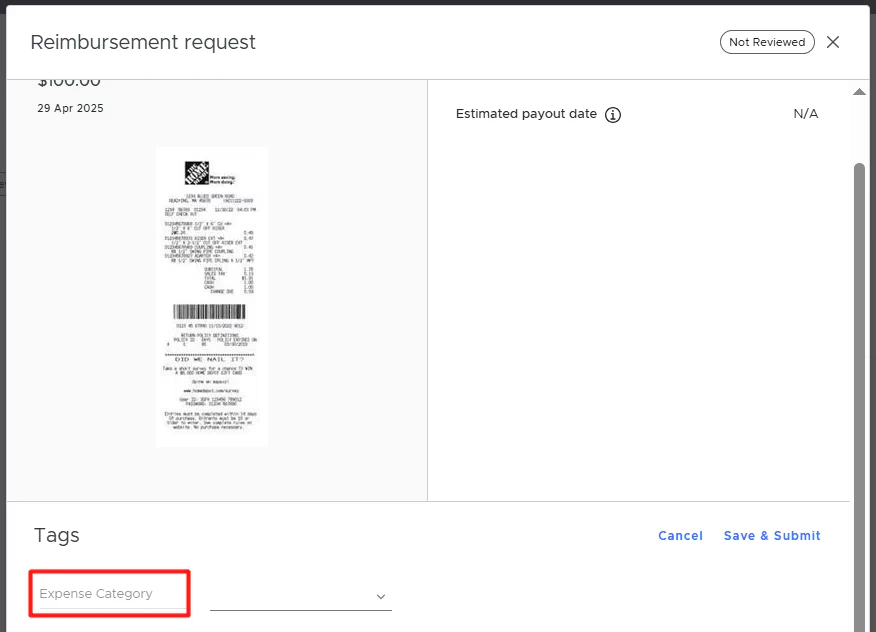
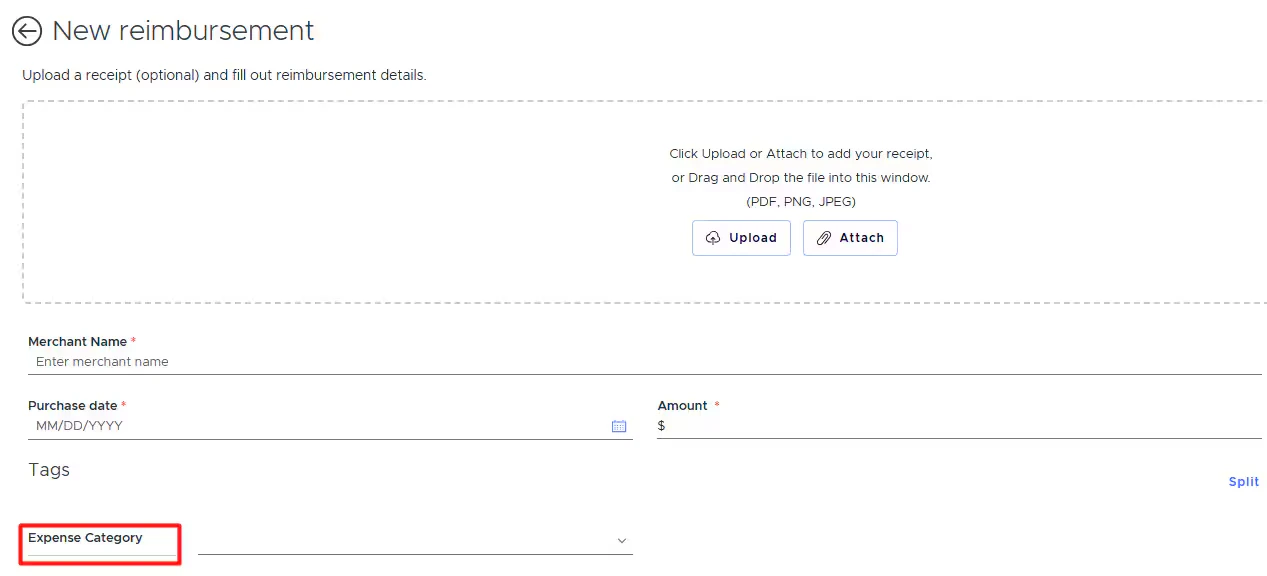
On the PEX reimbursement details screen, so you and your Cardholders can tag reimbursements.Admin view