Create dropdown tags in Tag Manager
1
Log in to http://dashboard.pexcard.com/
2
3
Click Add Tag.
4
Select Dropdown as the type.
5
Enter a name: Expense Account.
6
Optionally, add a description like “Dynamics 365 Expense Account”.
7
Check Enabled to make this tag visible on transactions.
8
Choose whether this tag is required.
- If the Required checkbox is checked, cardholders must tag a transaction with it.
9
Click Save tag to finish.
- The new tag appears on the Tag Manager page.
10
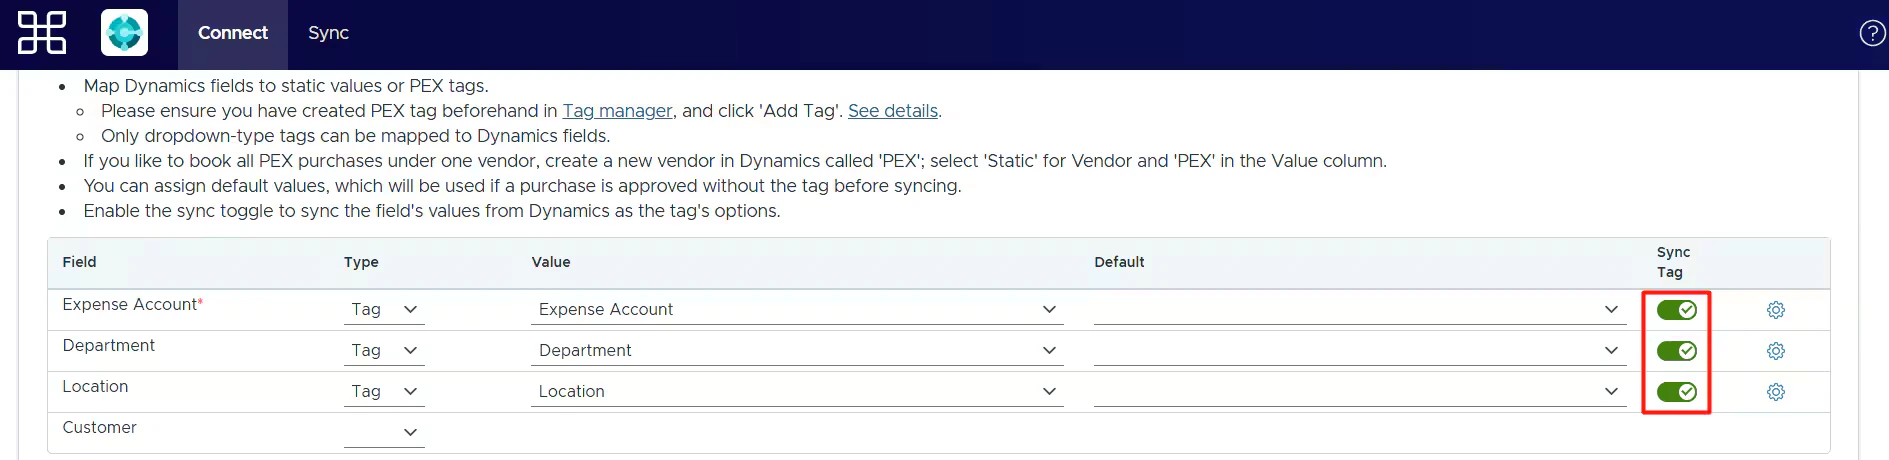
Create one tag for each Dynamics 365 field you map to a PEX tag (for example Vendor, Tax Rate, Class, Department, Location, Customer) using the same steps.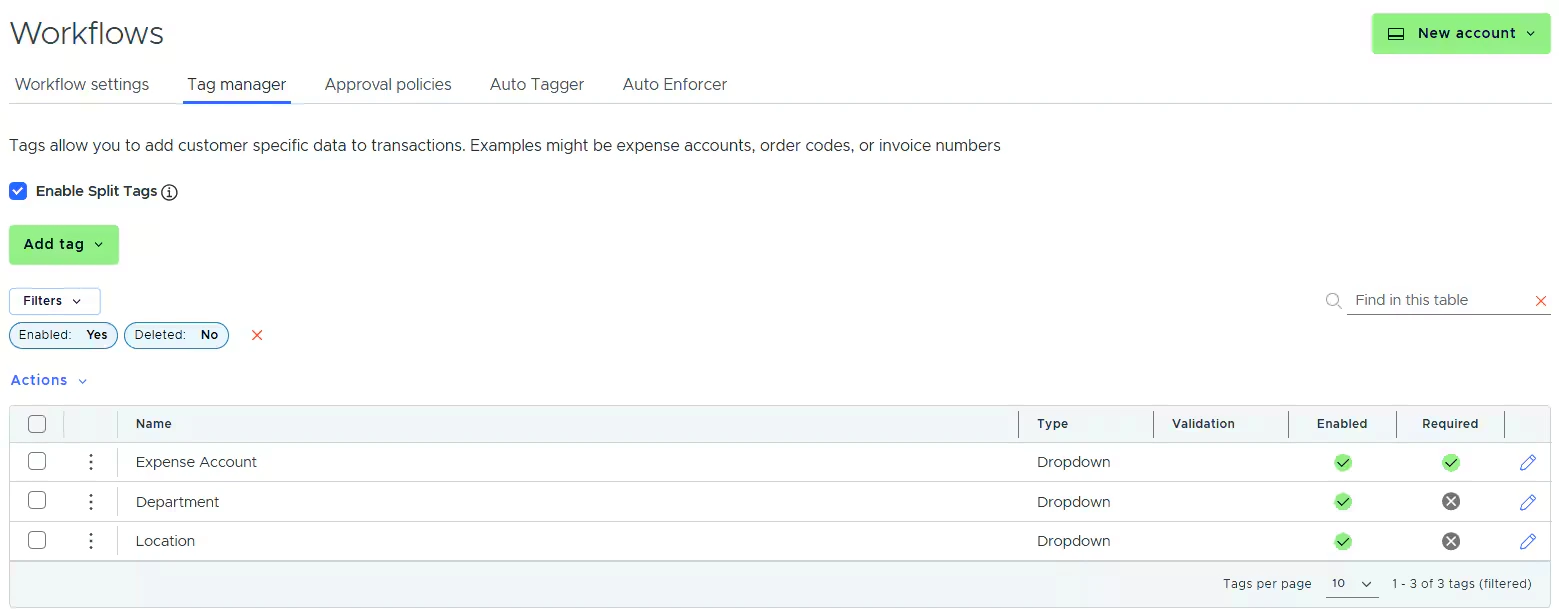
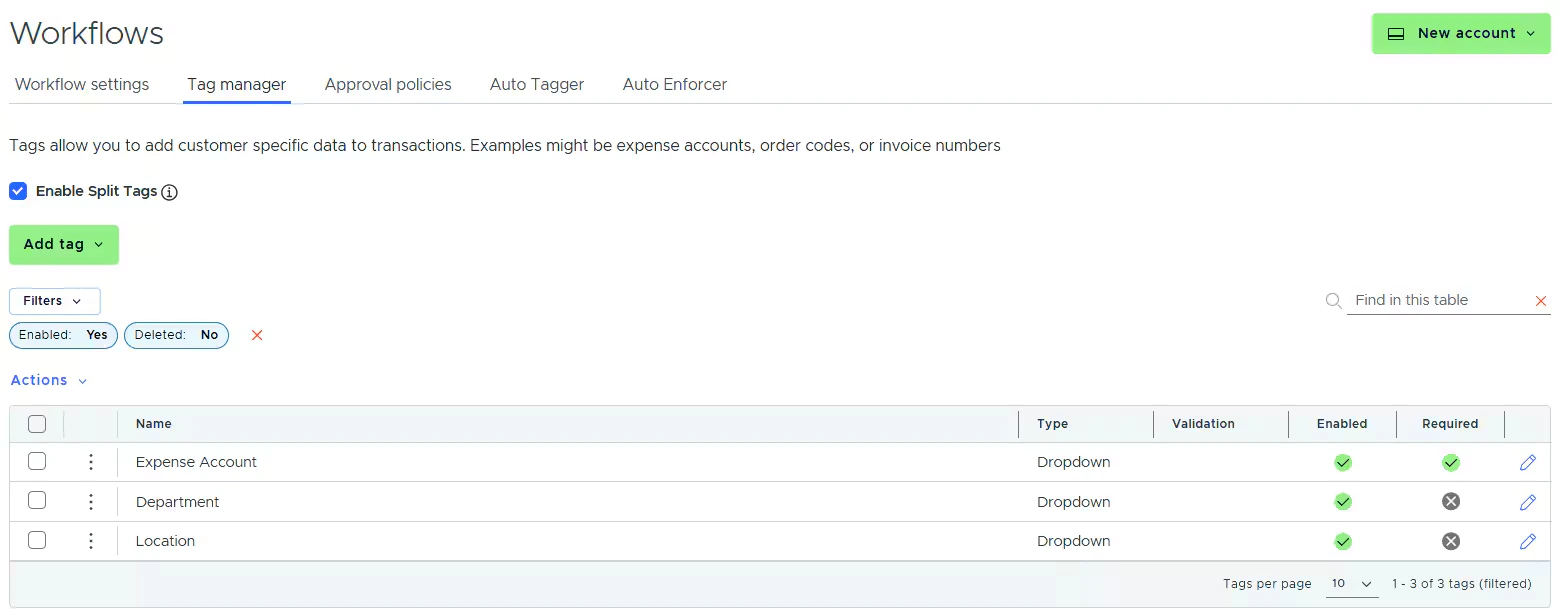
- Your new tags appear in Tag Manager.
Dynamics 365 fields you can map to PEX tags
Note:Only dropdown-type tags can be mapped to Dynamics 365 fields. Custom fields configured in Dynamics 365 are also supported and appear in the Mappings tables.
Where your tags appear
Once the tags are set up, you will also see them:-
In the dropdown lists of the Mappings table so you can complete the mapping.
-
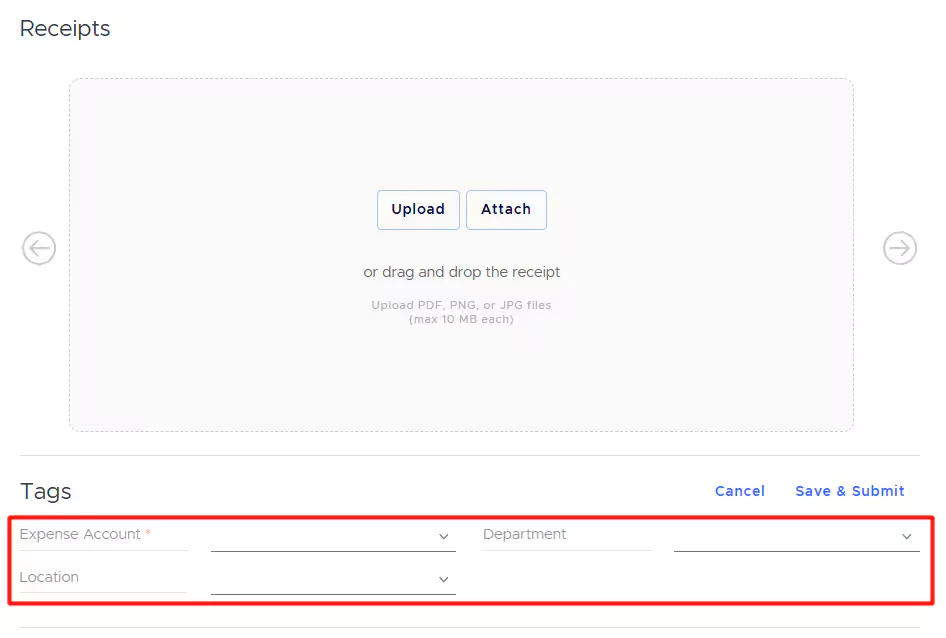
On the PEX transaction details screen, so you and your cardholders can tag transactions.