> ## Documentation Index
> Fetch the complete documentation index at: https://support.pexcard.com/llms.txt
> Use this file to discover all available pages before exploring further.
# Adding your PEX Card to Google Pay
> Add your PEX card to the current Google Pay app on Android so you can tap to pay at participating merchants.
**Important**:
You **must** have a registered PEX cardholder account to add your card to a digital wallet. To set up a PEX cardholder account, please visit [https://dashboard.pexcard.com/registration](https://dashboard.pexcard.com/registration?utm_source=support)
PEX supports the following digital wallets:
1. [Apple Pay](/cardholder-guide/adding-a-pex-card-to-apple-pay)
2. [Google Pay](/cardholder-guide/adding-your-pex-card-to-google-pay)
3. [Samsung Pay](/cardholder-guide/adding-a-pex-card-to-samsung-pay-on-all-programs)
Not all cardholders are eligible to add a card to a digital wallet. Your business administrator controls if a cardholder is able to add a PEX card to a digital wallet. If you are not sure if you are eligible, please contact your business administrator.
## Adding a PEX Card to Google Pay
On November 18, 2020 Google Pay released a new [Google Pay app](https://play.google.com/store/apps/details?id=com.google.android.apps.nbu.paisa.user\&hl=en_US\&gl=US). Use the steps below to add a card to your wallet if you are using the new Google Pay app on your Android mobile device. If you are using the old app (pre-Nov 2020), please use the steps on this support article, [Adding a PEX Card to Google Pay (pre-Nov 2019)](/cardholder-guide/adding-pex-card-to-google-pay-prenov-2019).
Download the Google Pay app and walk through all the Google Pay setup screens.
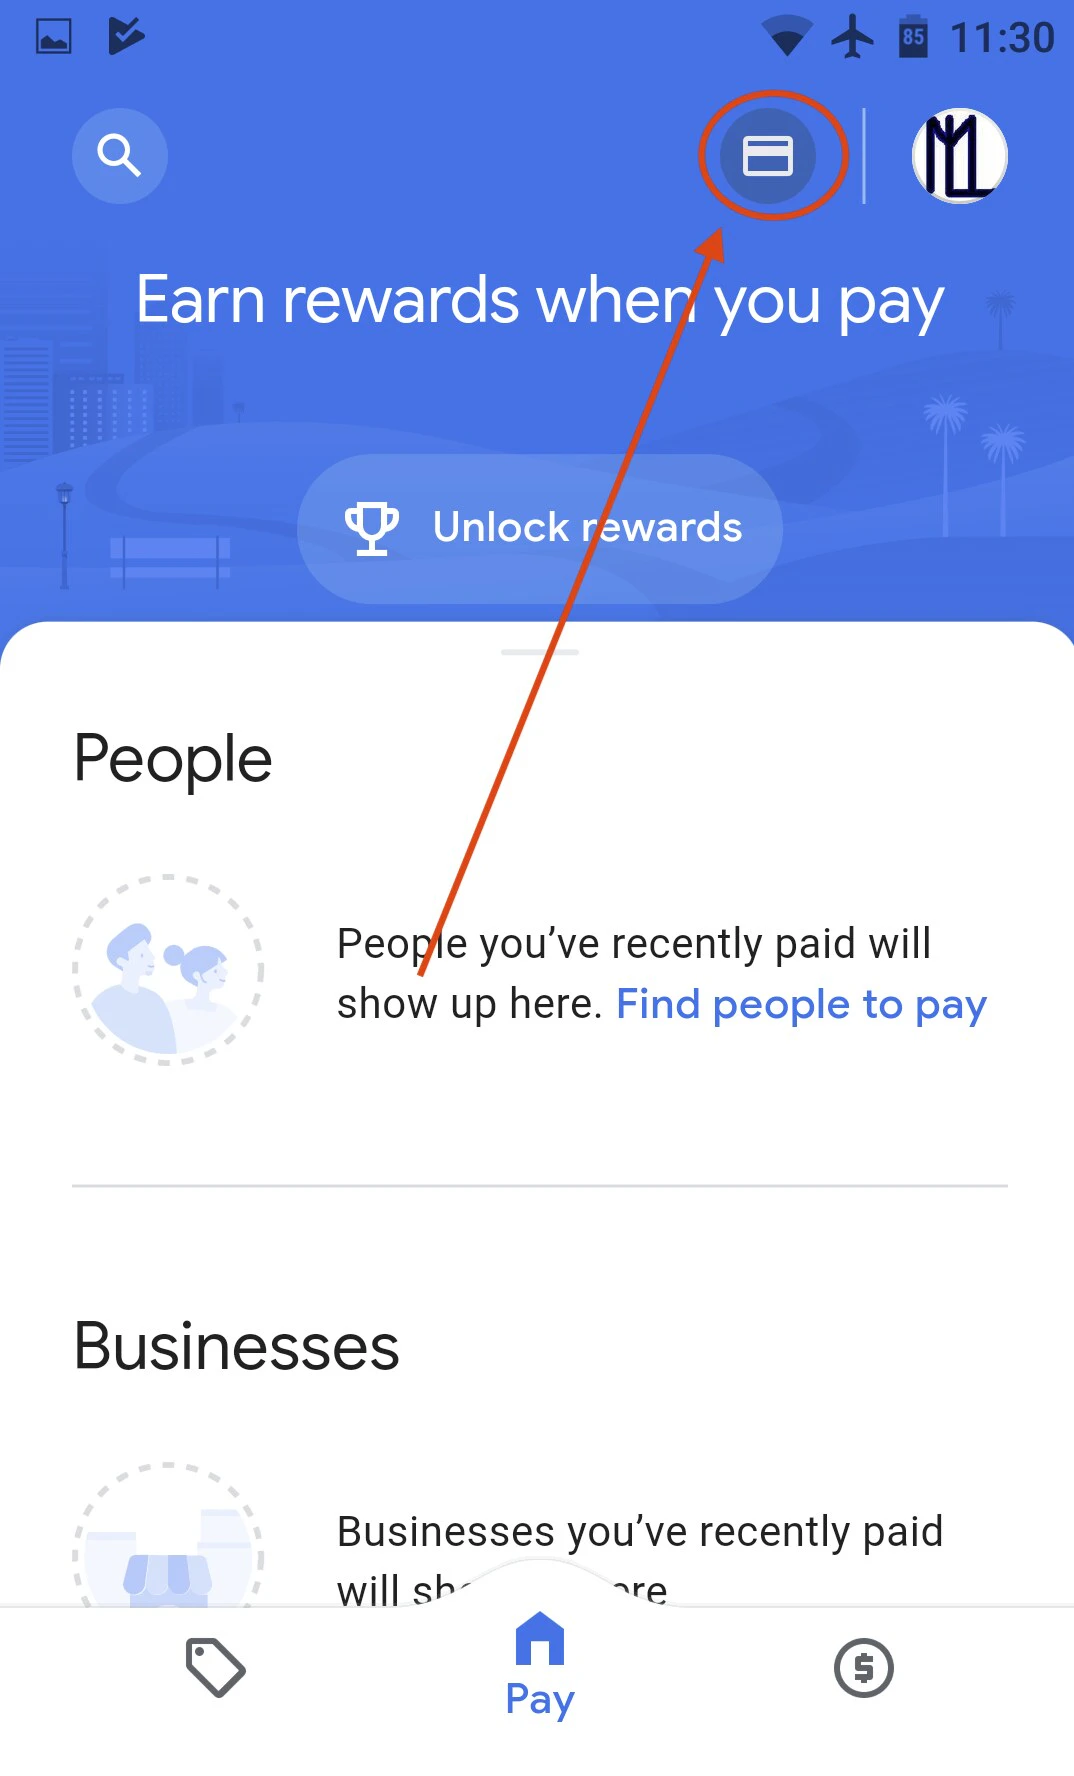
From the home screen, click on the card icon on the top right hand corner of the screen. If you already have an existing card setup you will see your card icon on the top right hand corner of the App.
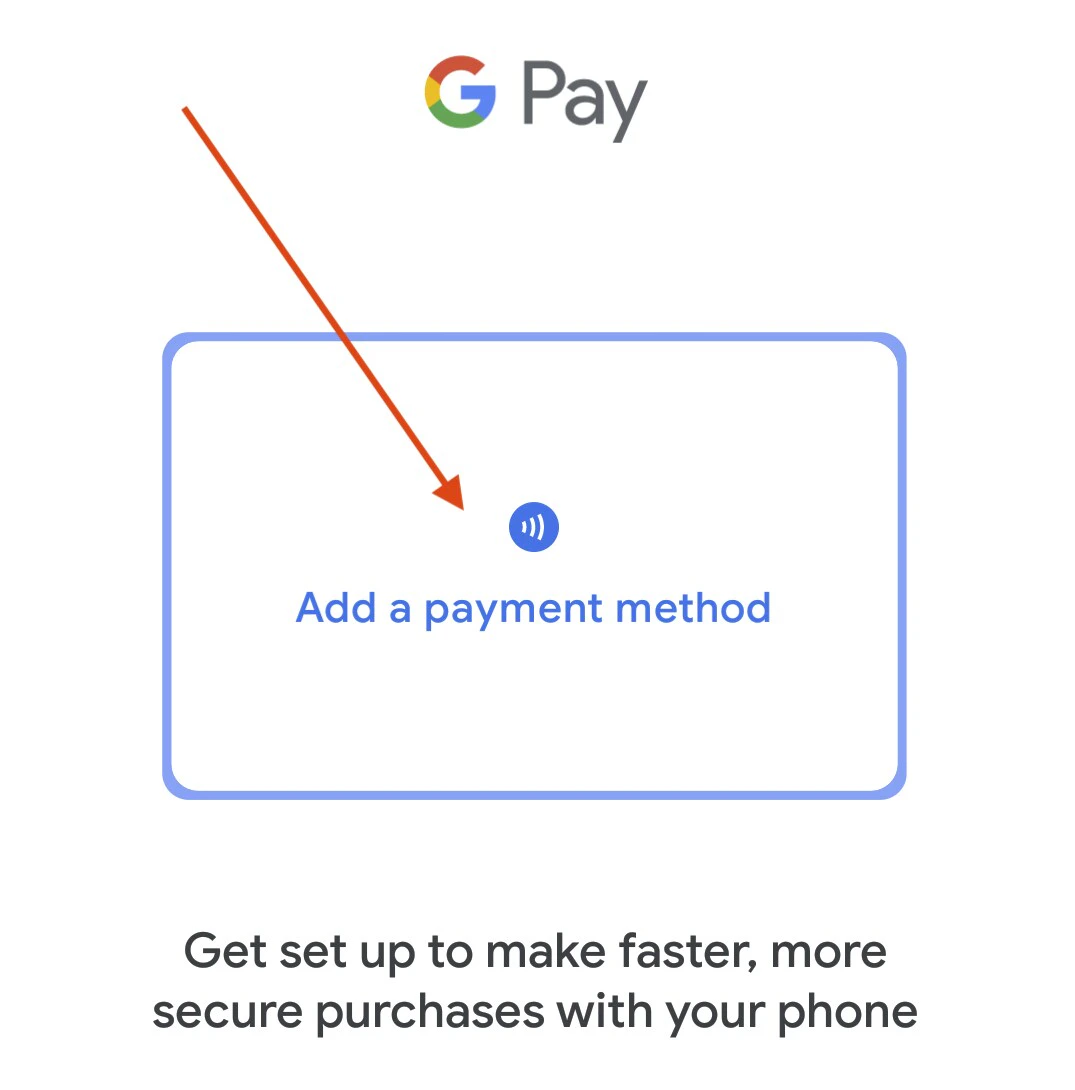
 Click on the add payment icon in the middle of the screen.
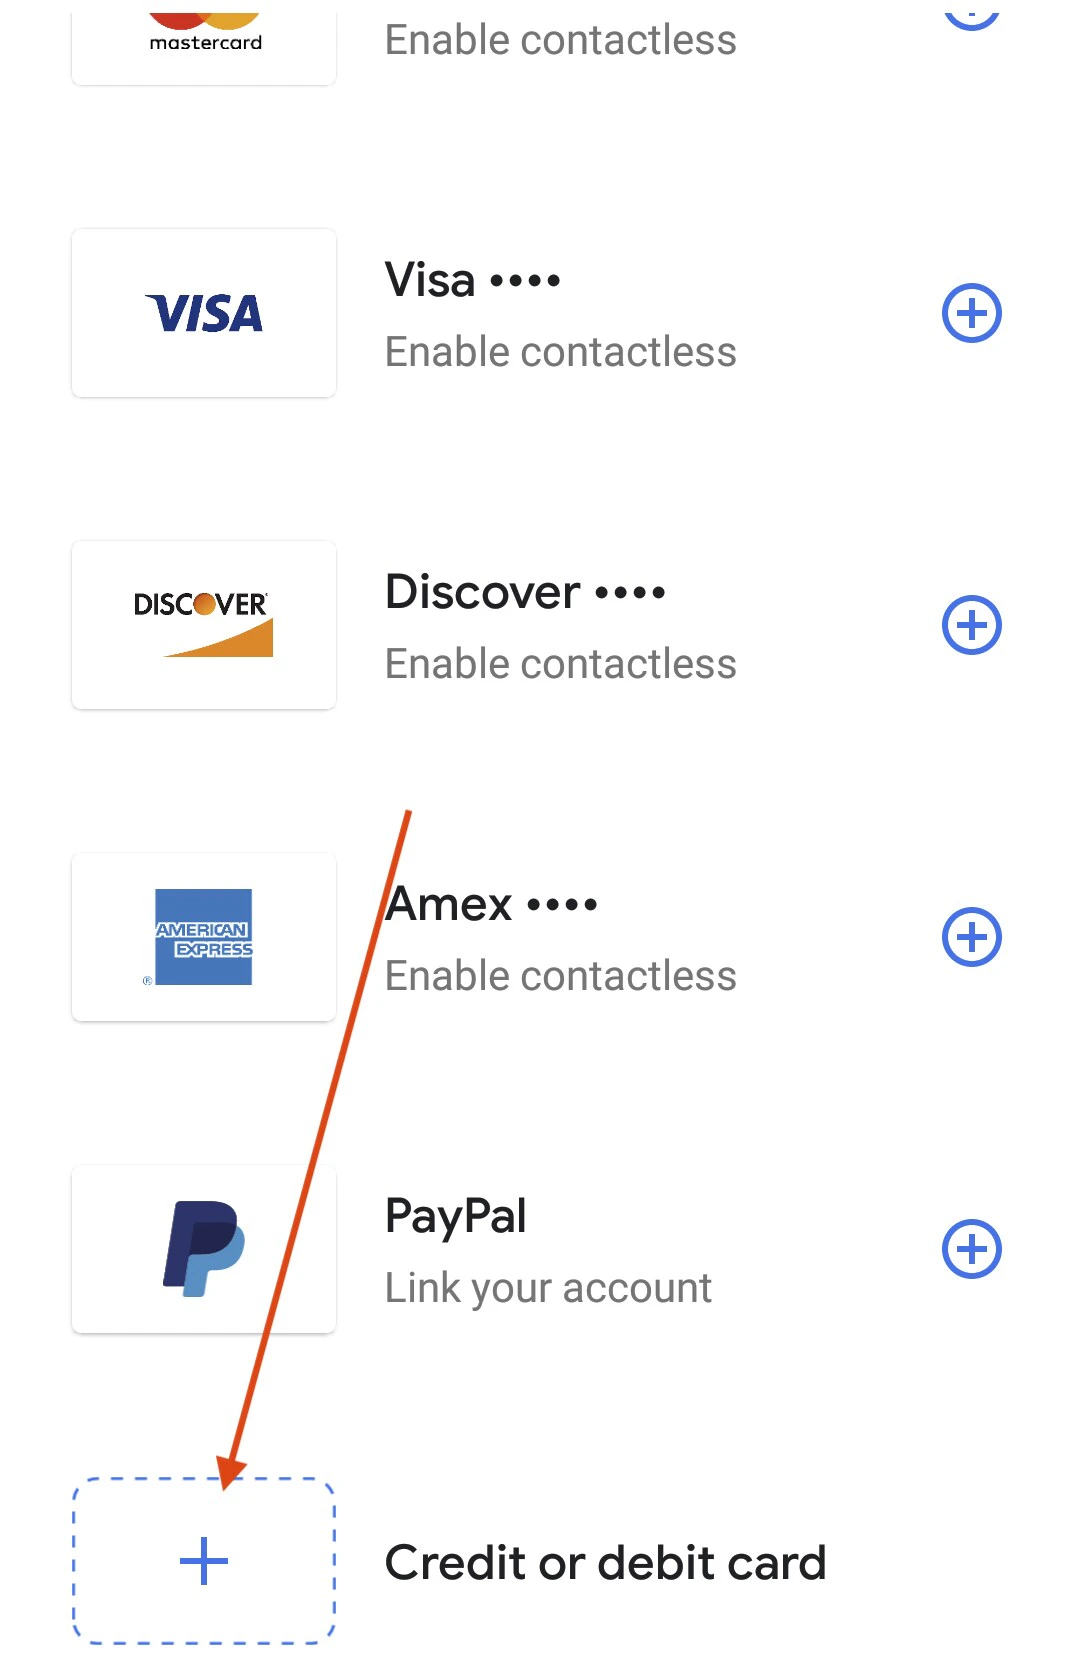
 Click on the + sign next to the Credit or debit card image.
 On the next screen, enter the CVC and expiration date in the card details under the card number. Under the address, please make sure you use the same billing address as you have on your PEX cardholder profile.
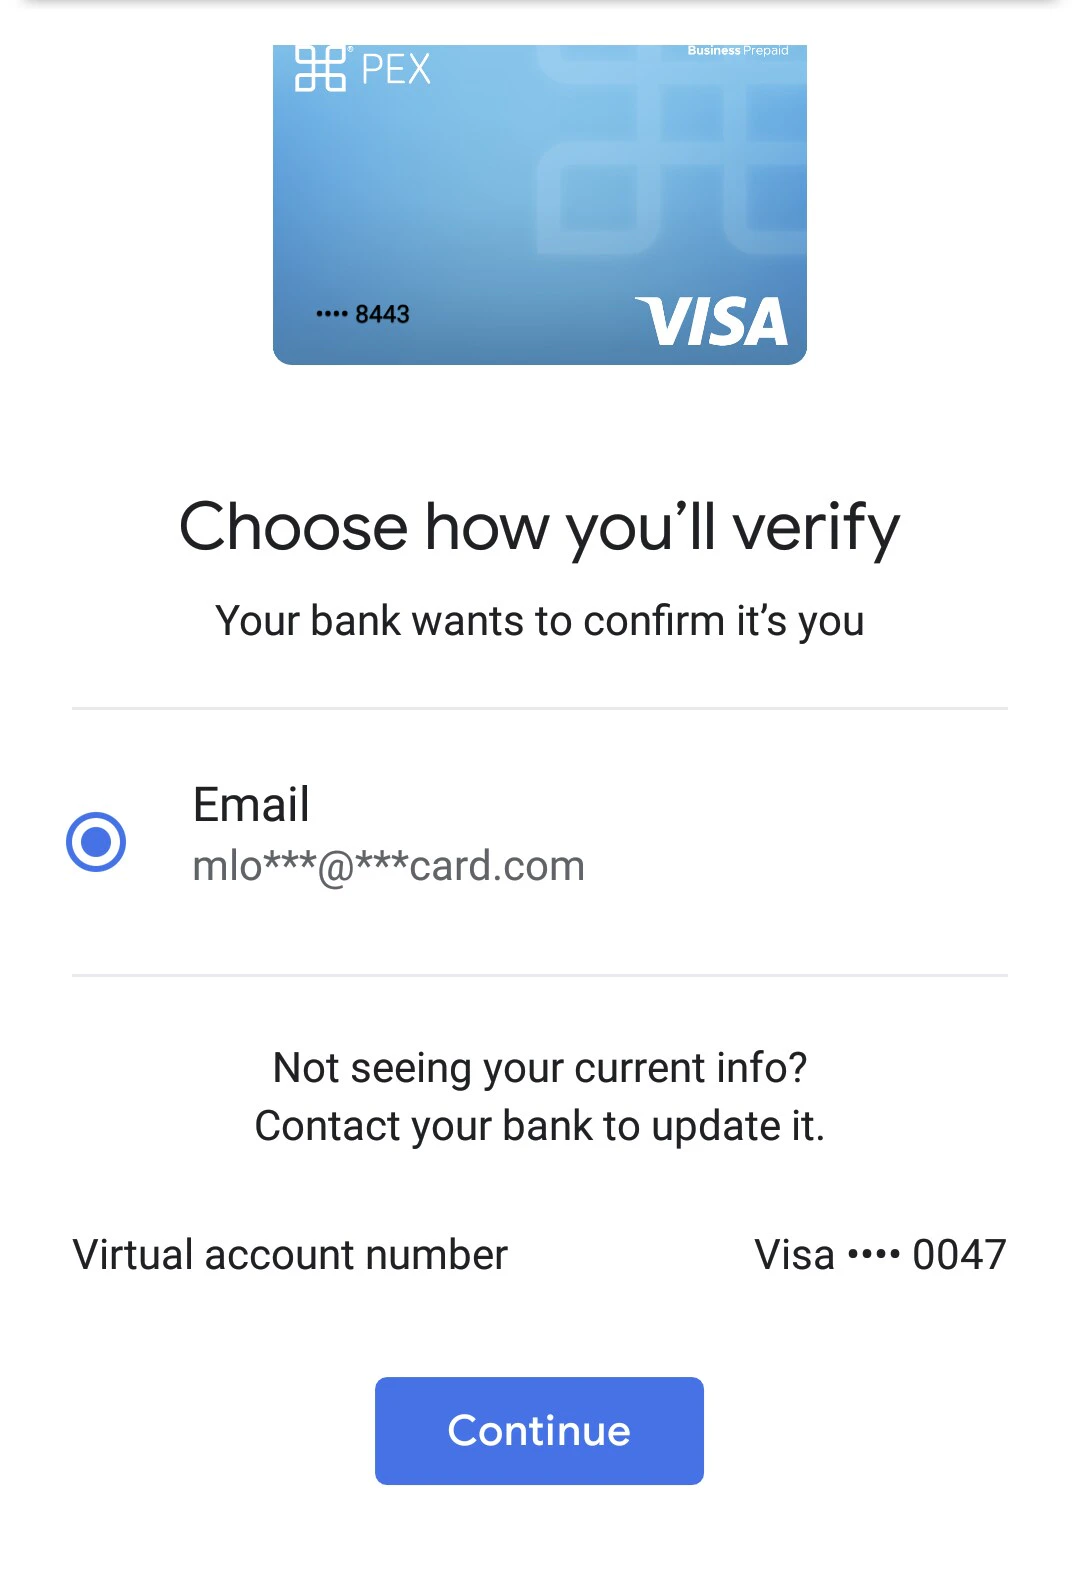
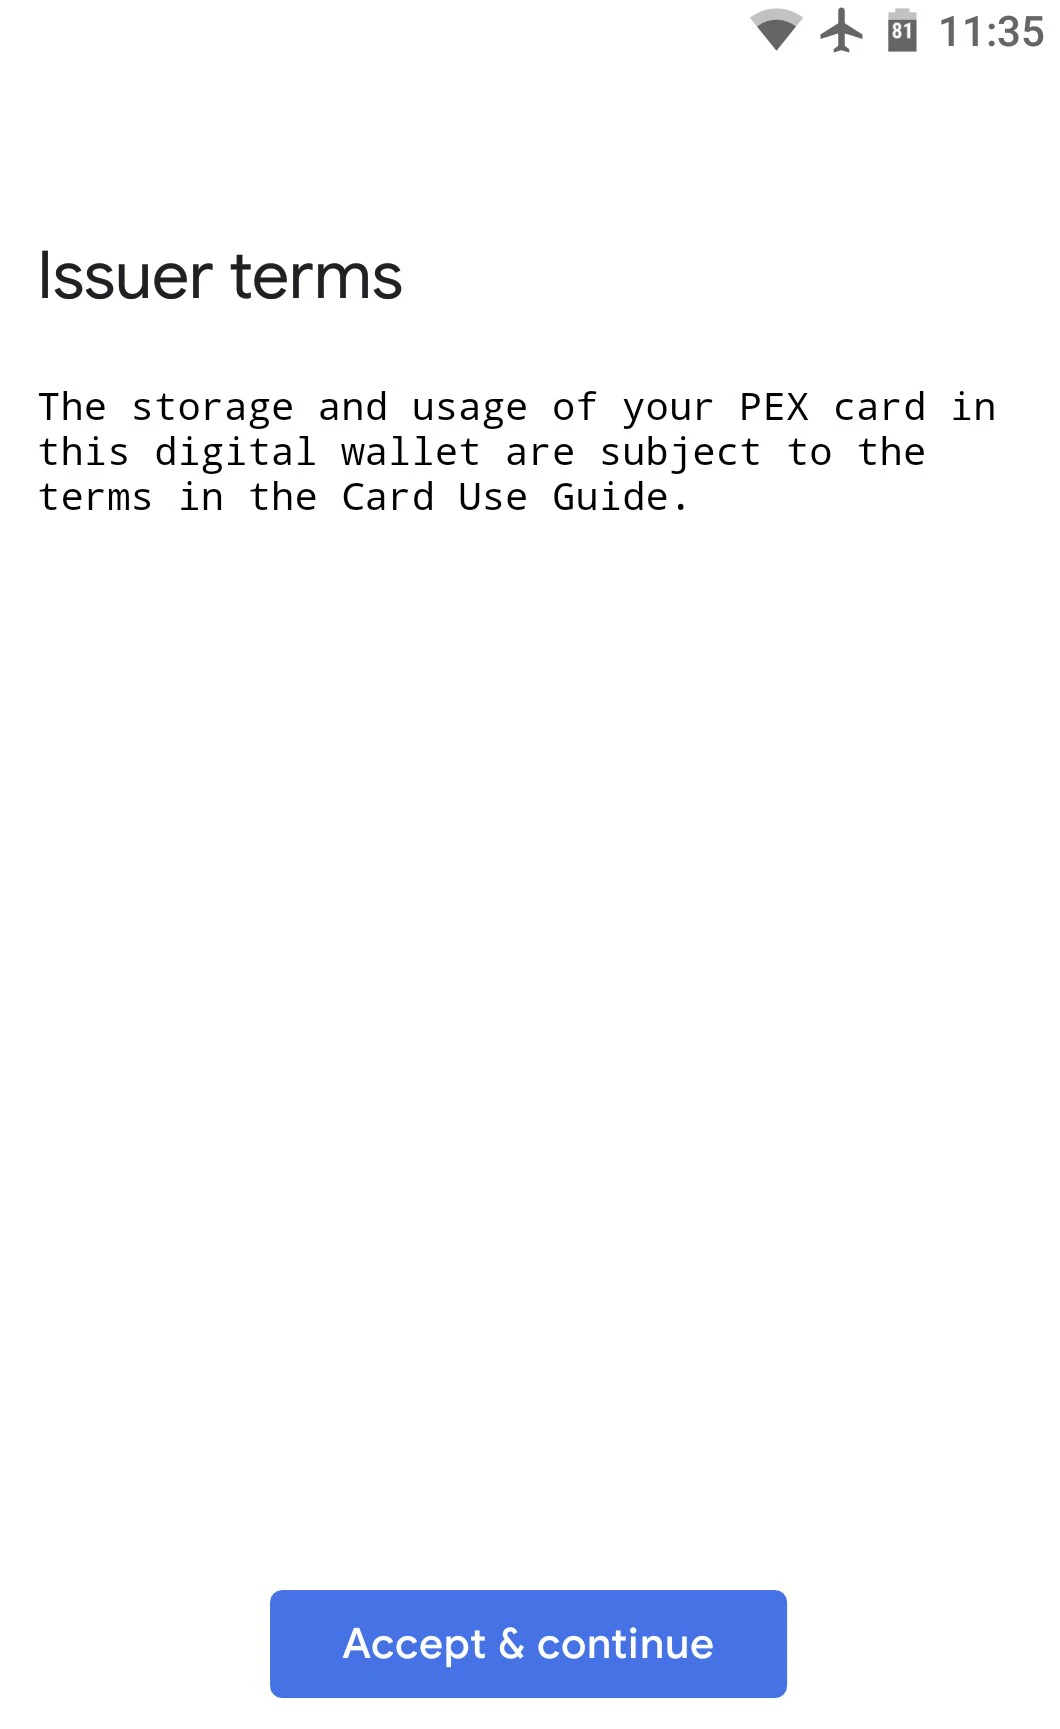 You will now be asked to confirm the addition of your card to your wallet. PEX will send a one-time six digit security code to the email on file.
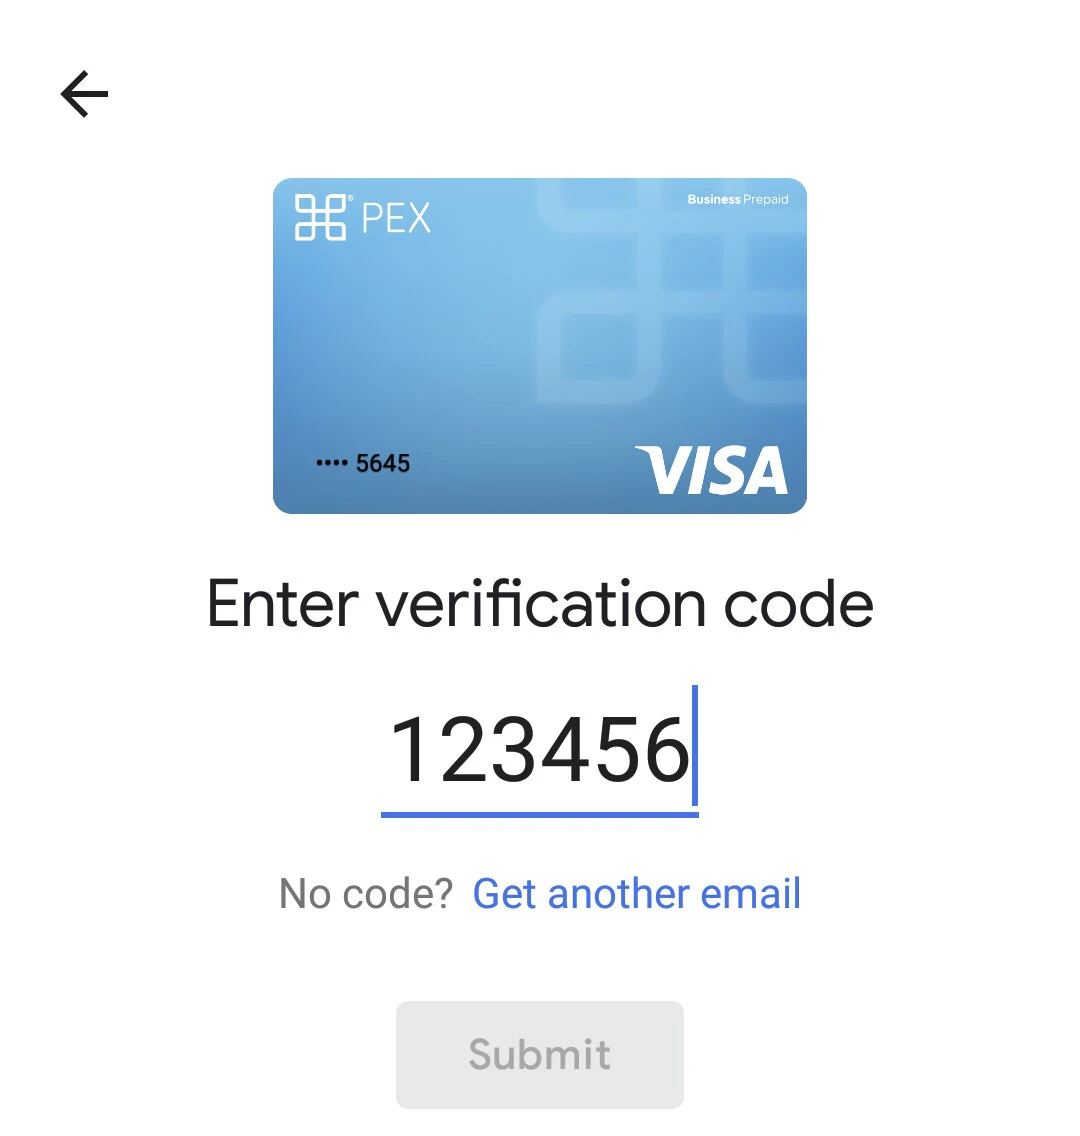
 Once you receive the 6 digit code via email, please enter the code on the verification screen.
 **Note:**
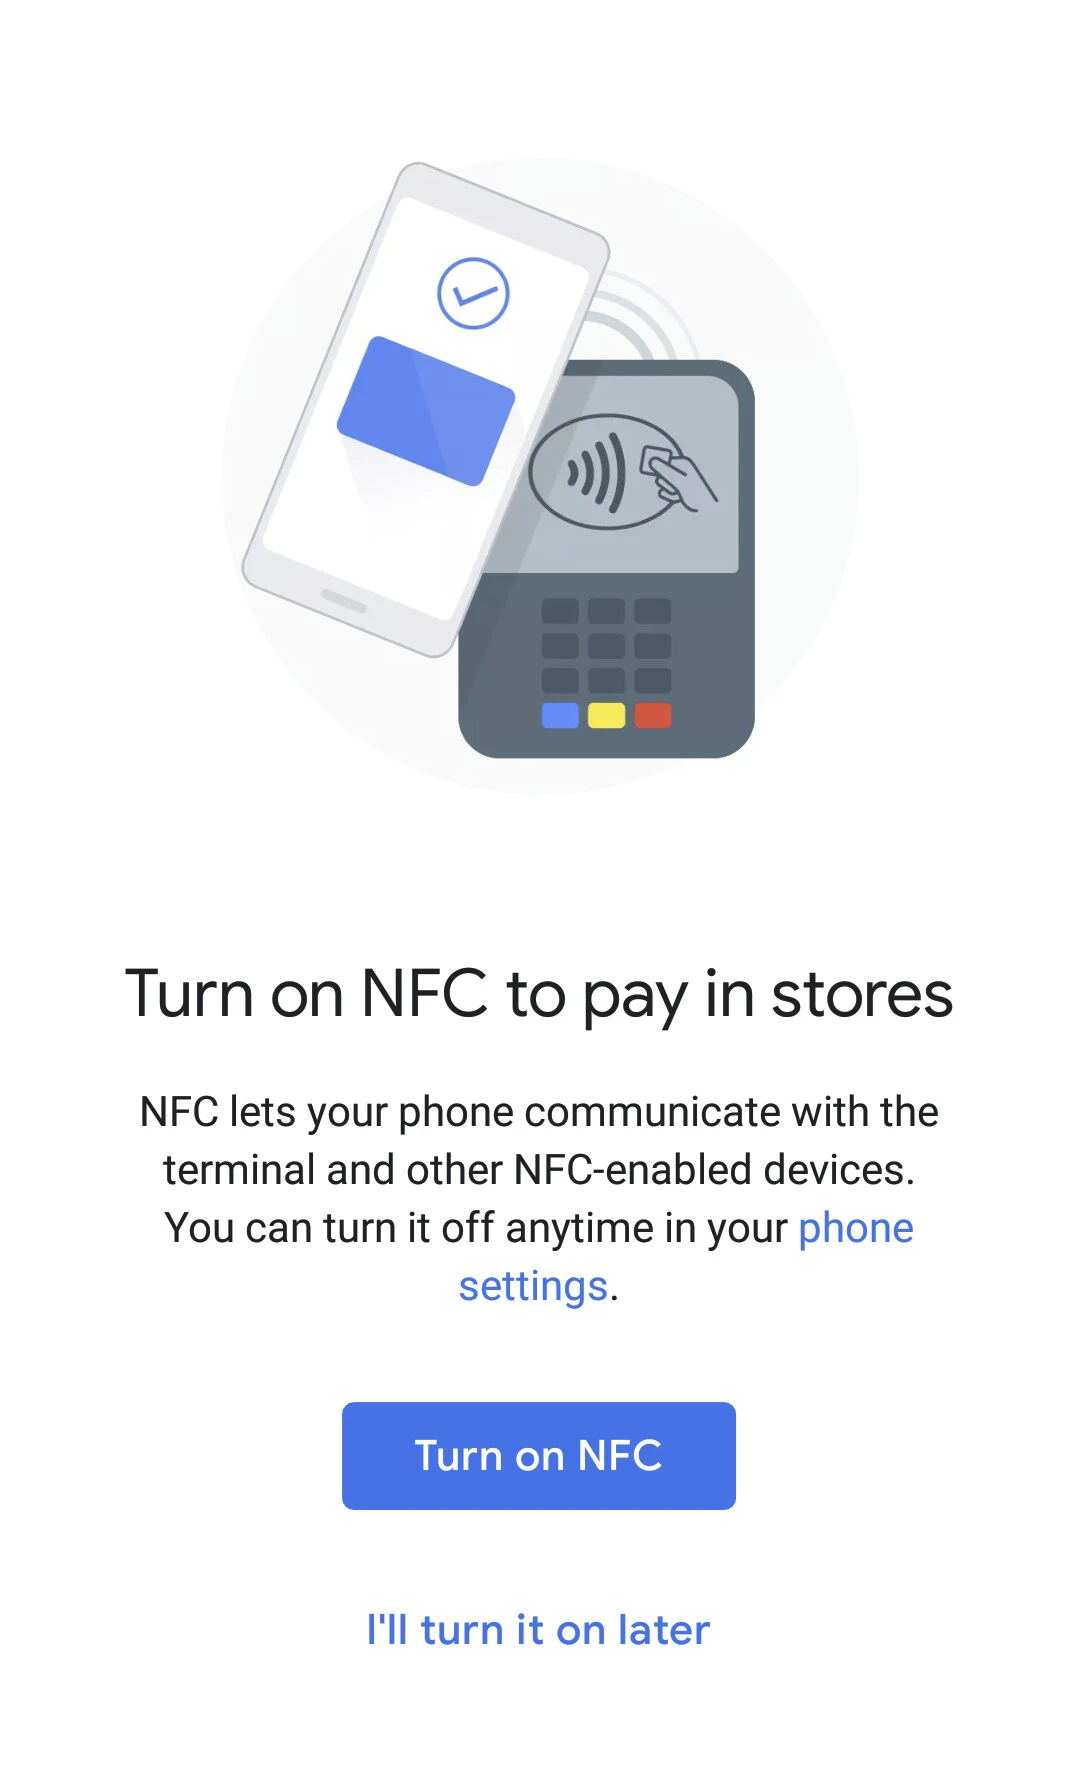
You may be prompted to turn on the NFC setting on your device to perform Tap & Pay transactions.
**Note:**
You may be prompted to turn on the NFC setting on your device to perform Tap & Pay transactions.
 ## Troubleshooting
If you are having trouble adding your PEX card to Google Pay, please see [this article](https://developers.google.com/pay/issuers/support/troubleshooting) for help troubleshooting.
## Troubleshooting
If you are having trouble adding your PEX card to Google Pay, please see [this article](https://developers.google.com/pay/issuers/support/troubleshooting) for help troubleshooting.